Chewy Brown Sugar Cookies – Warm Caramelly Flavor
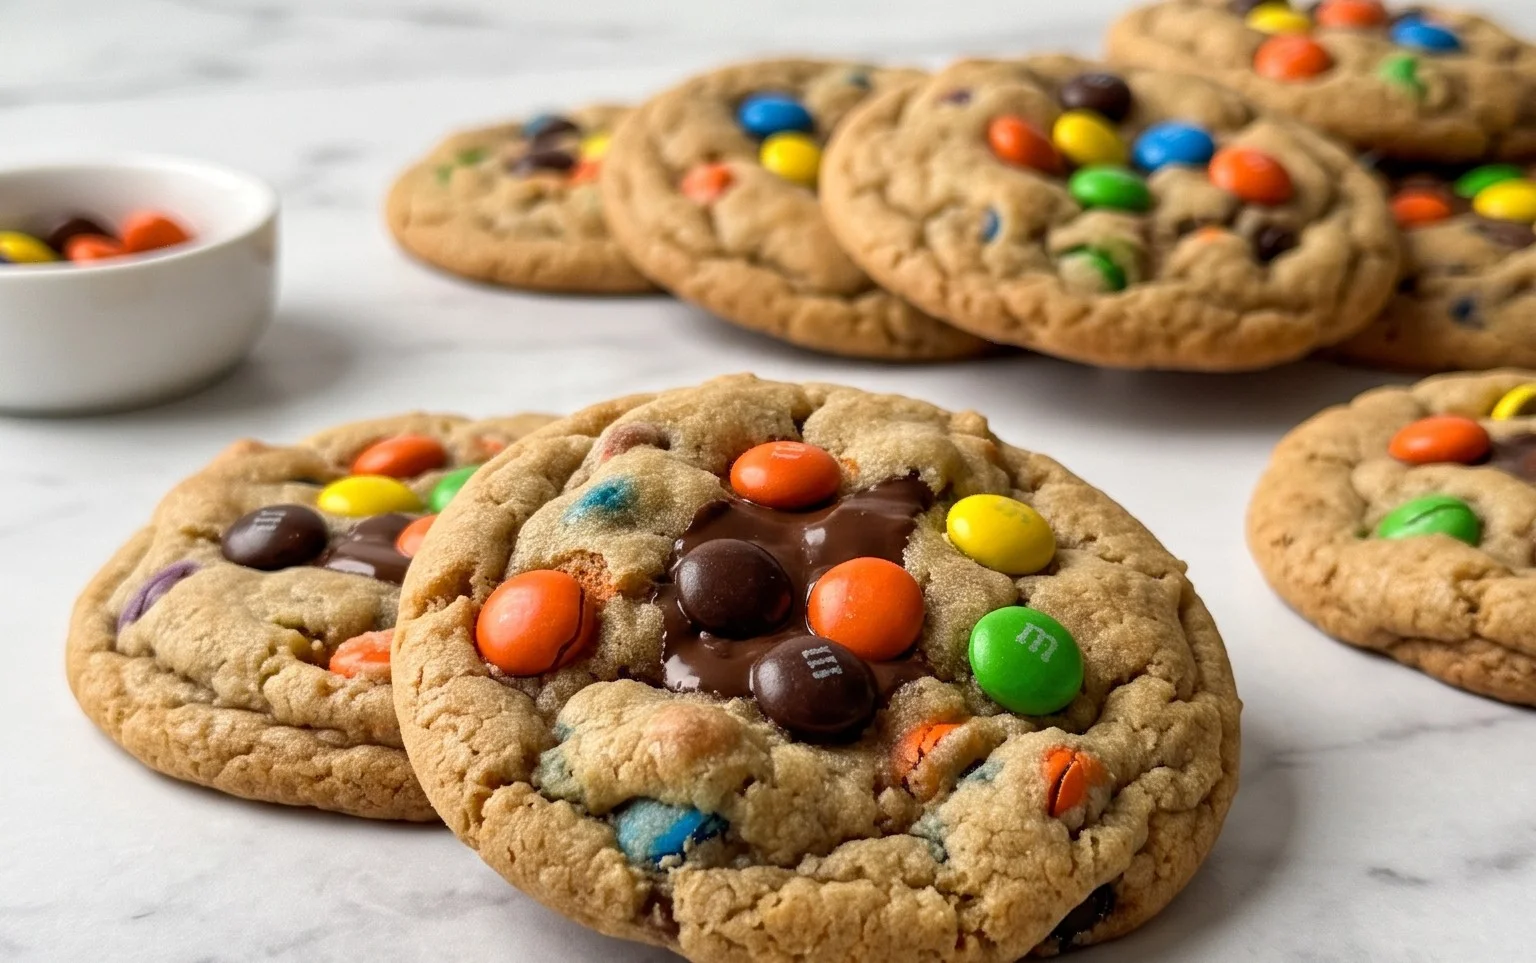
Brown sugar cookies are more than just a sweet treat; they’re a warm hug in cookie form. There’s something utterly magical about their chewy centers and crisp, caramelized edges that makes them an enduring favorite. We all have that memory, don’t we? The smell wafting from the kitchen, the anticipation building with each bite of these perfect brown sugar cookies. What truly sets these apart is the depth of flavor that brown sugar imparts. Unlike their plain white sugar cousins, brown sugar brings a delightful toffee-like richness and a beautiful golden hue that just screams comfort. They’re simple enough for a weeknight bake but special enough to share at any gathering. This recipe is my go-to for achieving that perfect balance of chewiness and melt-in-your-mouth goodness, and I can’t wait to share these irresistible brown sugar cookies with you!
Brown Sugar Cookies
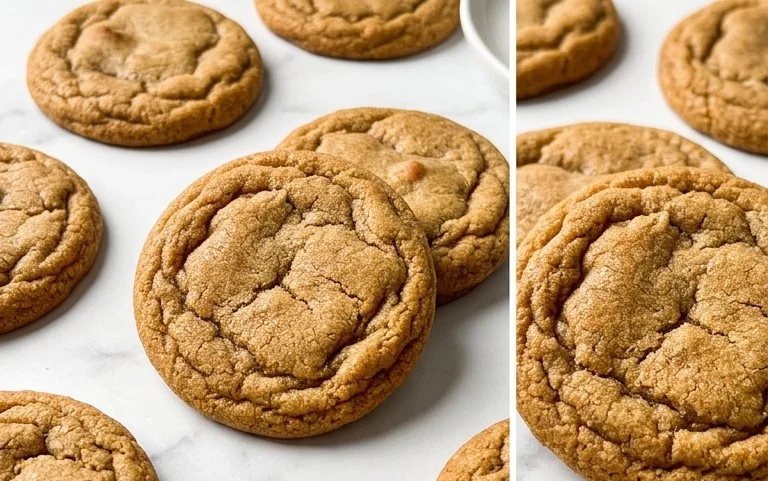
There’s something incredibly comforting about a perfectly baked brown sugar cookie. It’s a cookie that whispers warmth, a delicate balance of sweet and slightly caramelly notes, with a wonderfully chewy center and a delightfully crisp edge. Unlike their simpler sugar cookie cousins, brown sugar brings a depth of flavor that elevates these cookies from good to truly spectacular. Whether you’re a seasoned baker or just starting out, this recipe is designed to be approachable and yield consistently delicious results. These are my go-to when I need a treat that feels both nostalgic and a little bit special. They’re fantastic on their own, but even better alongside a glass of cold milk or a hot cup of coffee.
Ingredients:
- 1 cup (2 sticks; 226 grams) unsalted butter, at room temperature, divided
- 1 3/4 cups (375 grams) light or dark brown sugar ((I like to do a mix of both if I have them))
- 1 large egg
- 1 large egg yolk
- 2 1/2 teaspoons vanilla extract
- 2 1/2 cups (350 grams) all-purpose flour, plus more if needed
- 1 teaspoon baking soda
- 3/4 teaspoon fine sea salt
Instructions:
-
Creaming the Butter and Sugar:
Begin by creaming together the softened butter and brown sugar. This is a crucial step for achieving that signature chewy texture. Make sure your butter is truly at room temperature – not melted, but soft enough to leave an indentation when gently pressed. I like to use a stand mixer with the paddle attachment for this, but you can also use a hand mixer or even a sturdy whisk and some elbow grease. Beat the butter and brown sugar together on medium speed for about 3-5 minutes, until the mixture is light, fluffy, and well combined. You want to see no distinct streaks of butter. The brown sugar crystals will start to dissolve and incorporate, creating a beautiful, caramel-hued base. This aeration process is what will give your cookies their lift and tender crumb. If you’re using a mix of light and dark brown sugar, as I often do, you’ll notice a lovely depth of color and a more complex flavor profile developing even at this stage.
-
Incorporating Eggs and Vanilla:
Once your butter and sugar are perfectly creamed, it’s time to add the eggs and vanilla extract. Add the large egg and the egg yolk, one at a time, beating well after each addition until fully incorporated. The extra egg yolk is a secret weapon for many cookie recipes, contributing to richness, chewiness, and a wonderfully tender texture. Don’t skip it! After the eggs are mixed in, drizzle in the vanilla extract. Beat again until everything is smooth and homogenous. At this point, the mixture might look a little curdled, and that’s perfectly normal. Just keep beating until it comes together.
-
Combining Dry Ingredients:
In a separate medium bowl, whisk together the all-purpose flour, baking soda, and fine sea salt. Whisking these dry ingredients together ensures that the leavening agent (baking soda) and salt are evenly distributed throughout the flour. This prevents pockets of bitterness or uneven spreading in your cookies. I always recommend measuring flour by weight if possible, as it’s the most accurate way to get the right flour-to-liquid ratio. If you’re using measuring cups, spoon the flour into the cup and level it off with a straight edge; don’t scoop directly from the bag, as this can compact the flour and lead to dry, dense cookies.
-
Bringing It All Together:
Gradually add the dry ingredients to the wet ingredients, mixing on low speed until just combined. Be careful not to overmix at this stage! Overmixing can develop the gluten in the flour too much, resulting in tough cookies. Mix until you no longer see streaks of dry flour. The dough will be thick and wonderfully fragrant. If the dough seems too sticky to handle or roll, you can add a tablespoon or two more of all-purpose flour, but do so sparingly. You want a dough that is pliable but not overly sticky. Once the dough is just combined, you can give it a final gentle fold with a spatula to ensure everything is incorporated.
-
Chilling and Baking:
This is where patience pays off! For the best flavor and texture, I highly recommend chilling the cookie dough. Cover the bowl tightly with plastic wrap and refrigerate for at least 30 minutes, or up to 24 hours. Chilling allows the flavors to meld and the fats to firm up, which prevents the cookies from spreading too much in the oven and results in a thicker, chewier cookie. Preheat your oven to 350°F (175°C). Line baking sheets with parchment paper for easy cleanup and to prevent sticking. Scoop rounded tablespoons of the chilled dough onto the prepared baking sheets, leaving about 2 inches between each cookie to allow for spreading. You can gently flatten them slightly with the palm of your hand or the bottom of a glass if you prefer a flatter cookie. Bake for 8-11 minutes, or until the edges are lightly golden brown and the centers still look slightly soft. They will continue to set up as they cool. Let the cookies cool on the baking sheets for a few minutes before transferring them to a wire rack to cool completely. The aroma filling your kitchen will be absolutely divine!

Conclusion:
I hope you’re as excited as I am to whip up a batch of these incredible brown sugar cookies! This recipe truly shines because of its simplicity and the irresistible chewy texture and rich, caramel-like flavor that brown sugar brings. These cookies are wonderfully versatile, making them perfect for any occasion, from a casual afternoon treat to a special gathering.
Serve these delightful brown sugar cookies warm with a glass of cold milk for ultimate comfort, or let them cool completely and enjoy them with a cup of coffee or tea. For a touch of decadence, consider dipping them in melted chocolate or adding a sprinkle of sea salt on top before baking. If you’re feeling adventurous, try incorporating chopped nuts like walnuts or pecans, or even some mini chocolate chips for an extra layer of flavor and texture. Don’t be afraid to experiment!
I absolutely encourage you to give this recipe a try. It’s a fantastic starting point for cookie lovers of all skill levels, and the results are consistently delicious. I can’t wait to hear about your baking adventures with these wonderfully chewy brown sugar cookies!
Frequently Asked Questions:
Why are my brown sugar cookies not chewy?
To achieve a chewy texture, ensure you’re using enough brown sugar, as it contains molasses which contributes to moisture. Also, avoid overbaking; pull them from the oven when the edges are set but the centers still look slightly soft. Letting them cool on the baking sheet for a few minutes after removing them from the oven will allow them to continue to set and become perfectly chewy.
Can I use light brown sugar instead of dark brown sugar?
Yes, absolutely! While dark brown sugar will give a more intense molasses flavor and a slightly darker cookie, light brown sugar works perfectly well. The cookies will still be wonderfully flavorful and chewy, with a slightly lighter caramel note.
Brown Sugar Cookies
Delicious and chewy brown sugar cookies perfect for any occasion.
Ingredients
-
1 cup (2 sticks; 226 grams) unsalted butter (, at room temperature, divided)
-
1 3/4 cups (375 grams) light or dark brown sugar ((I like to do a mix of both if I have them))
-
1 large egg
-
1 large egg yolk
-
2 1/2 teaspoons vanilla extract
-
2 1/2 cups (350 grams) all-purpose flour (, plus more if needed)
-
1 teaspoon baking soda
-
3/4 teaspoon fine sea salt
Instructions
-
Step 1
Cream together 1 cup (2 sticks; 226 grams) unsalted butter and 1 3/4 cups (375 grams) light or dark brown sugar in a large bowl until light and fluffy. -
Step 2
Beat in 1 large egg, 1 large egg yolk, and 2 1/2 teaspoons vanilla extract until well combined. -
Step 3
In a separate bowl, whisk together 2 1/2 cups (350 grams) all-purpose flour, 1 teaspoon baking soda, and 3/4 teaspoon fine sea salt. -
Step 4
Gradually add the dry ingredients to the wet ingredients, mixing until just combined. Do not overmix. -
Step 5
Cover the dough and chill for at least 30 minutes, or up to 2 days. -
Step 6
Preheat oven to 350°F (175°C). Line baking sheets with parchment paper. -
Step 7
Scoop rounded tablespoons of dough onto the prepared baking sheets, leaving about 2 inches between cookies. -
Step 8
Bake for 10-12 minutes, or until the edges are lightly golden and the centers are still slightly soft. Cookies will continue to set as they cool. -
Step 9
Let cookies cool on the baking sheets for a few minutes before transferring them to a wire rack to cool completely.
Important Information
Nutrition Facts (Per Serving)
It is important to consider this information as approximate and not to use it as definitive health advice.
Allergy Information
Please check ingredients for potential allergens and consult a health professional if in doubt.